Check back often

Have you checked out all my blogs?


Dollhouse Minis: http://joannesminis.blogspot.com


18” Dolls: http://joannes18dolls.blogspot.com/


General Crafts: http://joannes-place.blogspot.com/


Cooking: http://joanne-kitchen.blogspot.com/


Also if for some reason I can't post I will try to give a head's up on the Facebook page so check there too.

Tuesday, April 27, 2021

Simple Gluing Jig


Watch the video here.


This week's Tuesday video is a really quick one but I hope I am showing you something useful that you can use for a lot of things.


I have been putting these together for quick projects for so many years I can't even count.


All you need are a handful of Lego type blocks and you have an easy to use gluing jig. Because of the way Lego and that type of blocks are made they will form a perfect 90° angle. They are also very strong but can be taken apart and stored in a small container. Another thing that I love is that I can scale this gluing jig up or down to the size I need.


If you have the base plate that is wonderful but it is totally not necessary.

Sunday, April 25, 2021

Building the Beachside Bungalow part 11


Watch the video here.


I was planning to get a lot farther on the house build this week but life got in the way along with some technical difficulties.


I started out this week by putting the dollhouse upside down on my work table. I have to say it is really getting heavy and hard to handle. Then the first step was to paint the underside of the eaves all around the house. After the first tiny bit I did use some masking tape to protect the walls from being accidentally painted. Even with this I still had to do some touch-up painting.


Next on the to-do list was to add the corner trim. This should have been on the video but I did the thing that all YouTubers do at one point or another, I thought I had pushed the record button but I hadn't. It doesn't happen often (thankfully) but it did this week. If I had caught it in time I could have went back and re-recorded that part. But the glue had already dried so I couldn't back-track.


So part of what I was talking about when I thought I was recording was why I choose the trim that I did. I used the pieces that the kit provided but to me it wasn't enough. I really wanted to add a wider trim to the front corners but there just wasn't enough room between the corner and the porch railing. In the end after trying several different pieces of wood I decided to use just an ⅛” by ⅛” strip wood. It gives me the look I wanted, kind of and still fits the area and leaves some space between the trim and the porch rail.


The next thing to glue in place were the side brackets, which for some reason I can never remember the name of. LOL


We also glued the rafter ends and the arch trim pieces to the front porch roof area.


Then we added the same items to the dormer area.


The other thing we were going to tackle were the side eave rafters but life got in the way this week. I decided it was better to end the video at the point I did than to rush through the rest I wanted to do. Its all about balance I guess.


I do want to sincerely thank all of you for watching my videos and reading my blog posts. It means so much to me that you are supporting me in this way. If I could ask you all to do just a bit more by subscribing to the channel and liking the videos and leaving comments. Those help more than you can imagine. Also if you could pass the links on to your friends I would appreciate it so much.

Tuesday, April 20, 2021

Cleaning Brushes


Watch the video here. 


This is just another short Tuesday Tidbit video where I show you how to clean your brushes. I clean all my brushes the same way both the really cheap ones and the expensive ones. I want to get as much life out of them as I can.


I learned most of this technique from a make-up artist several years ago. She taught me that the baby shampoo is the secret to really getting the bristles clean and not damaging them. I do think that since I started using this method my brushes last much longer and stay nice.


Sunday, April 18, 2021

Building the Beachside Bungalow part 10


Watch the video here.


This week was really all about waiting for paint and glue to dry. I decided to tackle the little pieces of trim that will go on and around the roof area. While I was at it I also assembled the two window frames and their interior trim. All of those pieces went together fairly easily. For whatever reason I couldn't get my act together to film it but I have few if any problems with the project. Well, I did manage at one point to glue the super glue tube to my index finger really well. That was one way to discover that my tube of glue had sprung a leak I guess. LOL Nothing a bit of nail polish remover couldn't fix though.


Then we were on to priming and painting all those pieces along with the front door unit. I figured we might as well do all of these this week even though we won't be installing the windows or the door for a while.


To paint the door we need to un-assemble it. Be sure to put those two hinge pins in a safe place. My favorite thing to do with them is to tape them to the bottom of the door frame. Just don't forget where you put them, they are really important later.
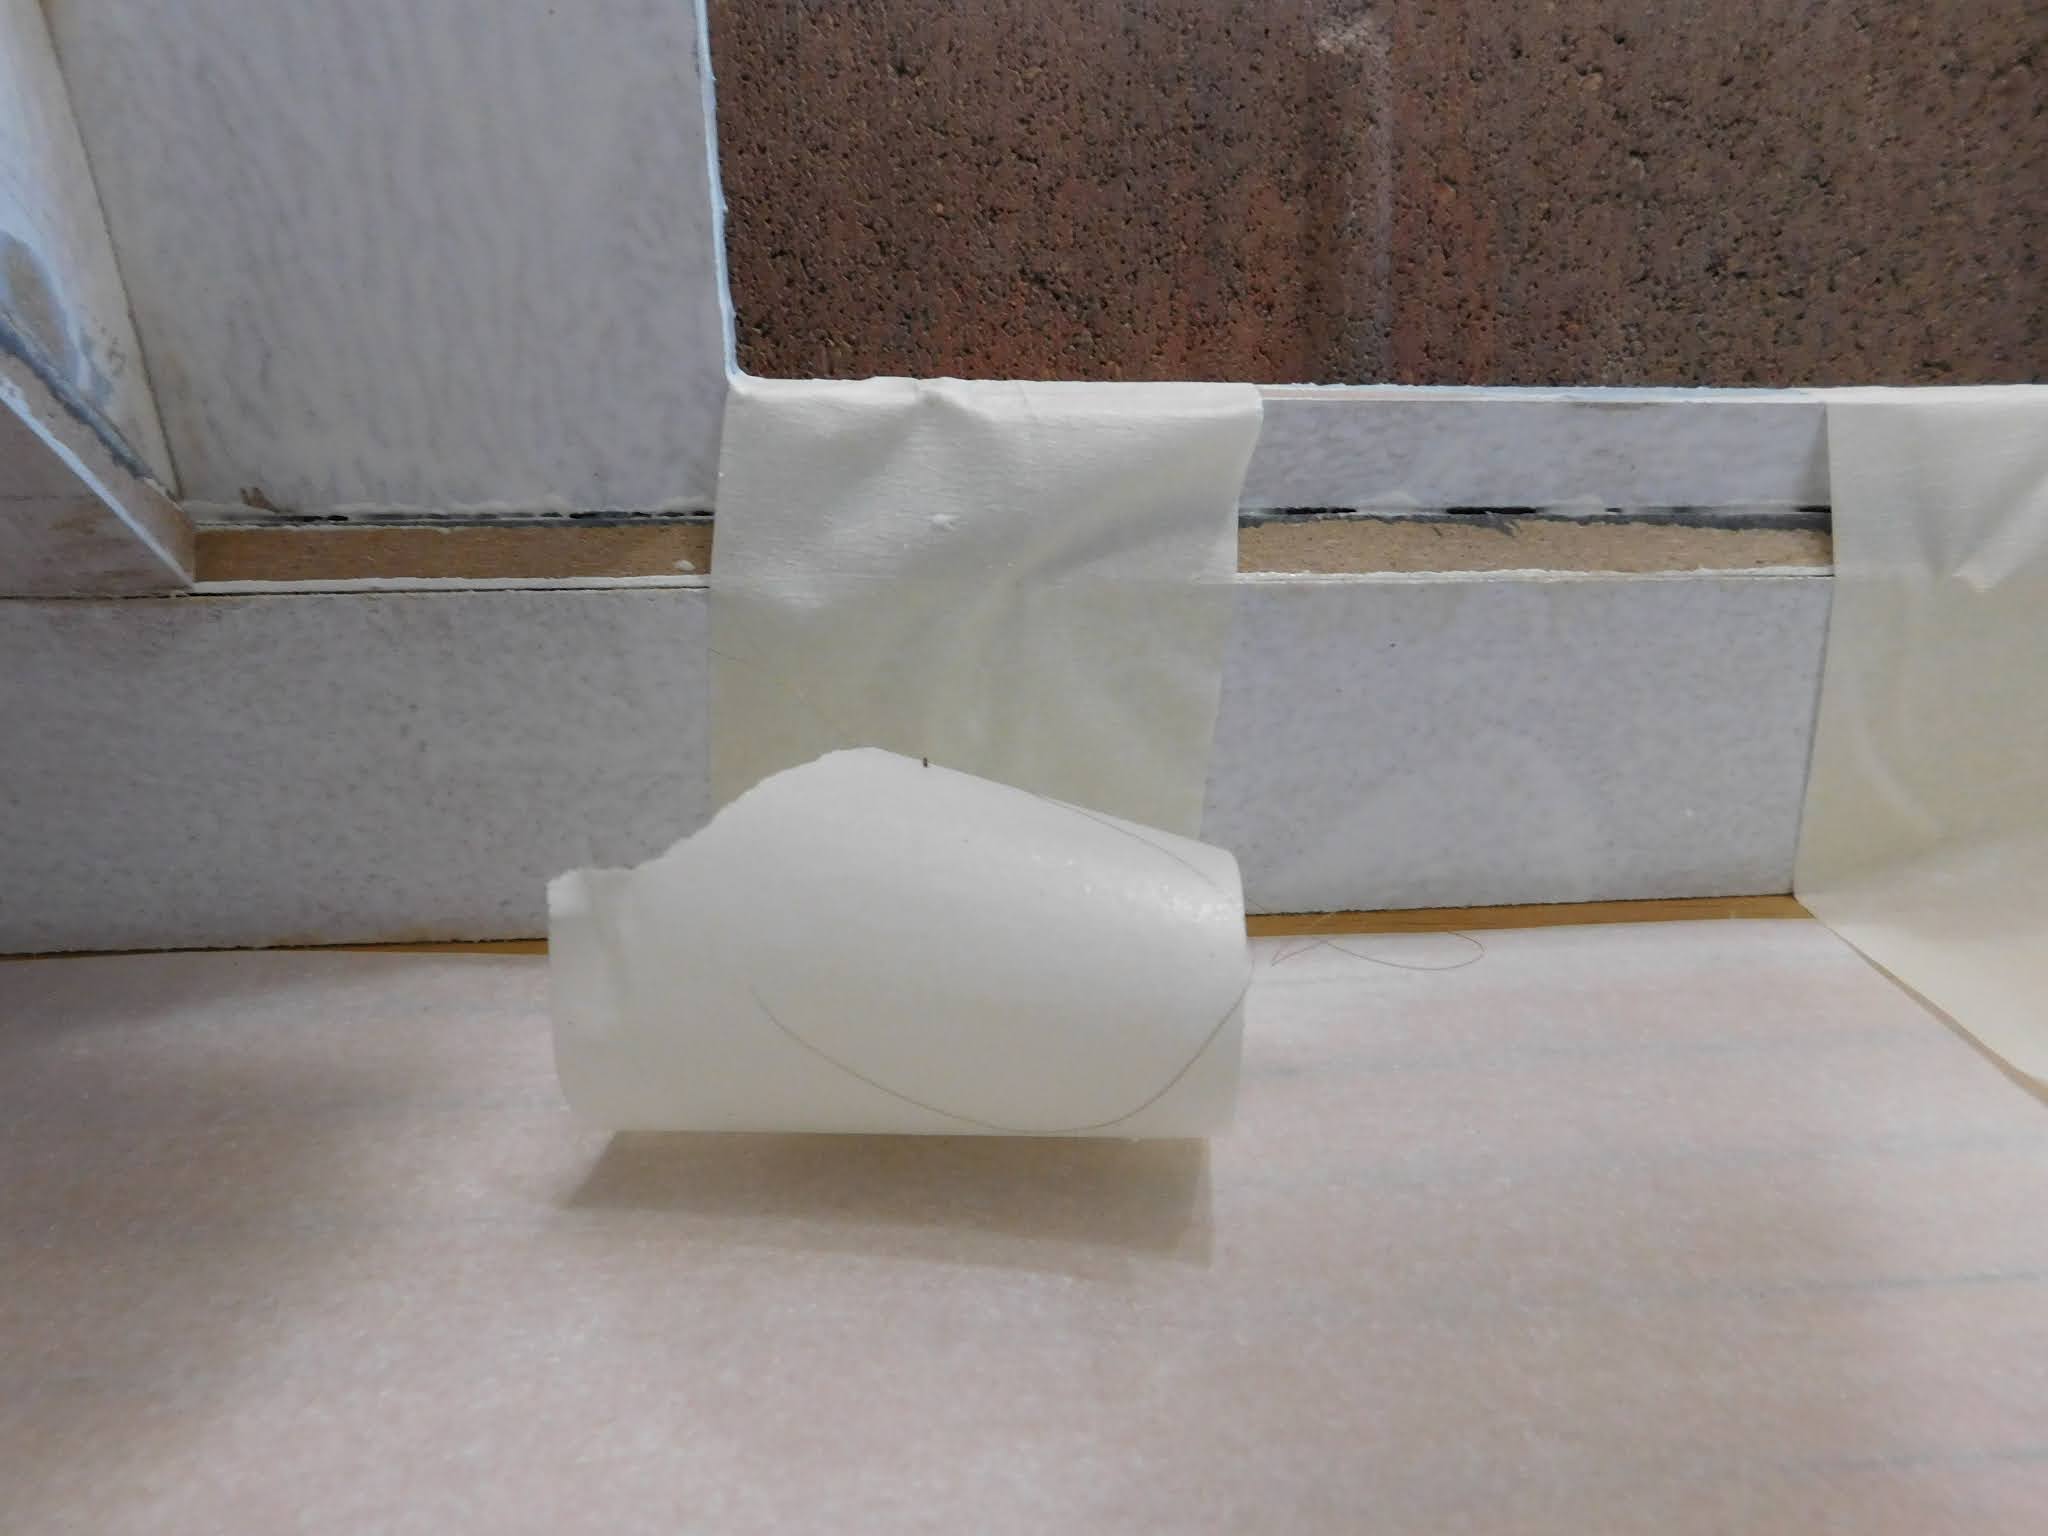

We do want the bottom of the door taped off because we want bare wood to glue the door in and also we don't want to take up space with paint. The sides of the door frame that will slide into the hole on the house shell are just coated with a very thin coat of paint. Also be careful to only put the thinnest coat of paint on the rounded edge of the door. If you put too thick a coat of paint in any of these areas you run the risk of the door not fitting/working properly when we install it.


My favorite way to handle all the small pieces that had to be painted is to use some masking tape to hold them onto a large ceramic tile. I even labeled each set of pieces so I know what is where. I am hoping that will make installing them next week go a bit faster.


We need now need to give everything a light coat of primer then when that is dry sand any rough spots.


Next we repeat this step with our trim color.


I did find that the trim paint also raised the grain on a few pieces so I did more sanding and another coat of paint. 


I will keep repeating this until I am happy with the finish.


Since we will have to set the dollhouse up on the table upside down in order to paint the eaves and install the trim pieces that will have to wait until next week.


I hope you are enjoying the series so far and hopefully learning so tricks that will help you out in your next dollhouse build. I want to thank everyone for taking the time to watch the videos and read the blog. It means a lot to me. If I could ask you all a favor and that is to pass the links to the channel and blog on to your friends that do dollhouses so that the channel can continue to grow.


That's all for this week, see you next time.


Tuesday, April 13, 2021

Dollar Tree Furniture Flip- the Hall Table


Watch the video here.


This week I am taking my inspiration from the videos I have been watching where people take furniture that they pick up at a thrift store or garage sale and then they re-do it to make it look really special. This is often referred to as “flipping” and really gives the opportunity to make a special piece of furniture to use. I figure the dolls living in our dollhouses should have the same opportunities. Since I didn't have a source for used furniture I looked at other options. I decided that the furniture at Dollar Tree had some good “bones” they are just not very well put together or finished. So for $1 you can pick up a piece of furniture to play with.


This week we are going to tackle the piece that Dollar Tree calls a desk. In my opinion this is not a desk. It is really too small for that. It does however make a fantastic hall table or entry way table.


The first step is to remove the drawer knobs, these knobs are okay but I didn't want to paint around them. If you can remove them intact you could just repaint them separately and glue them back on at the end of the project. For me 1 of the 3 knobs completely came apart when I removed it so that just meant I had to come up with something else to use. So of course I dug out some polymer clay and made set of drawer pulls. I made plenty so I will have more to use at a later date.


These pieces aren't really bad just not finished very well or at all. This one is pretty rough but a bit of filler and some sanding took care of most of it. You could do more if you want it to look more high end.


I had found a couple of pieces that were of similar style online, these were real pieces of furniture that people had flipped so I took my inspiration from them for color. I chose a cream color for the bottom of the piece and a dark brown for the top. The real pieces that I liked all had their tops stained in a dark work tone. I knew that the wood this piece is made of would not stain well so I used a very dark brown artist acrylic paint. It looks so nice on the wood.


Then just a top coat of satin Mod Podge for a finish and glue the knobs on and it is done. Super simple and very inexpensive piece of dollhouse furniture.


Sunday, April 11, 2021

Building the Beachside Bungalow part 9


Watch the video here.


This week we are putting the roof pieces onto the house. The back roof piece went on without any problems.


Then I got the front roof and the porch roof. I had put the back piece on in the afternoon intending to proceed with the front sections in the morning. As I was getting ready to head to bed I decided to do a dry fit of the front roof and porch roof pieces to see what I was going to be doing in the morning. That was when I discovered a mistake I had made back in video 5 of this series! I had primed and marked the wrong sides of these 2 pieces.


Crap, that meant that what is supposed to be the inside had a bunch of pencil lines drawn across them and that the side that was to out for the shingles to be glued to was white and had no placement lines. There were multiple words spoken that can not be on YouTube (at least not if I want to remain monetized...LOL) So instead of going to bed I primed what is actually the inside of the roof with my primer. I then had to wait for that to dry enough to flip it over because I needed to cover that white primer. If it had not be covered there is a huge chance it would show between my shingles and I don't want that. Then I had to get creative, what was I going to cover the white with? Well, I know that I will probably be using some shade of grey or black on my shingles. So I poured a bit of my primer into a container and added a bit of black craft paint then a little white until I had a grey that would cover the white. After giving the roof panels a coat of that paint I was finally able to go to bed a bit later than planned.


The first step for the front panels is not to glue them to the house but to glue them together at the correct angle. This was fairly easy, I did use a lot of masking tape and I added some weight in the form of a couple of bricks to make sure the pieces are at the correct angle. Then it was just a matter of keeping up with wiping up any glue drips and waiting for the glue to dry completely (I decided to give it a full 24 hours since I want it to hold up when it take it off to glue it back in place.)


Then it was time to glue the front roof piece in place. Although it is a large piece and a bit awkward it went on easily. I used a lot of weight and tape again to keep it from moving once I stepped away. I allowed this to also dry pretty well before going on to the next step- adding the dormer walls.


The dormer went on easy enough. It did shift a tiny bit on me between when I checked on it and when I came back to check again. I think it happened when I bumped the table while trying to vacuum the floor under it. Not a big deal it is a small shift and I can easily cover it with a tiny bit of spackle or caulk when we do the interior.


The last step for today's video was to put the roof on the dormer. I painted it with the same grey primer mixture I had made up for the front roof. (I also painted the back roof panel off camera too) and re-drew the shingle placement lines. The roof went on pretty well. The instructions suggested using the attic wall pieces to help hold it in place but I just couldn't get that to work. I used a bunch of tape instead. I did notice while watching the footage of the video back in preparation for editing the video that there is a space between the front wall of the dormer and the roof piece. While I wish I had caught it sooner and glued it better it will be a really easy fix which we will do on a future video. 


The house is really starting to look like a house at this point. I am still deciding on how I am going to trim it out. I have a handful of pictures of real houses, most are real houses located on the Oregon coast that I am using for reference. There are a couple in particular that have caught my eye and I am probably going to base the way I trim this house loosely on how they are trimmed.


I hope you are enjoying this series and learning at least some things from it. I would appreciate it if you passed the links to my channel and/or my videos on to your friends that would enjoy my tutorials. Thanks in advance for that and also a big thank you for watching the video and for reading my blog post.


Tuesday, April 6, 2021

Dollar Tree Haul


Watch the video here.


This week for our Tuesday Tidbit video I thought I would share some items I recently picked up at Dollar Tree to use in future videos. 


First up is this really cool portable work light. The one I show in the video is actually the second one I've picked up. I decided the first one was so handy that I wanted a second one. This is great for working on minis, mostly it will get used when we start doing the interior of the dollhouse to light up those dark corners It is also super handy just to have on hand to use around the house when you need to light up an area. It runs on 3 AA batteries and gives an amazing amount of light. There are 2 spots that can light up. I'm pretty sure you will be seeing this a lot in the future.


Next up were the craft clamps. I am always looking for new clamps for craft projects and these are surprisingly well made for the price. I'll let you know as we use them what I think of them over time.


Now onto the furniture, I picked up several pieces of dollhouse furniture to do make-overs on for future Tuesday Tidbit videos. I am going to start off with the one that Dollar Tree refers to as a desk, I'm calling it a hall table. I was inspired to do these pieces as makeovers or flips from watching videos of people re-doing real life furniture. I am hoping to do one of these pieces a month for a while anyway.


Sunday, April 4, 2021

Building the Beachside Bungalow part 08


Watch the video here.


First I just want to say I am really happy with how well this house kit is coming together. I really expected to have more problems along the way. 


This week we put the porch beam in place.


 The first step was to get the base caps and porch posts in place. These really need to be in straight so I spent the extra time with my level and sandpaper to get the bases ready. The center base was enough off that I decided to put a shim in between the base and cap. A piece of one of the shingles was just the right thickness for this and works perfectly. You can't even see it's there now that everything is in place.


Next is the actual beam placement. I have to admit I was more than a bit nervous about this step. If this goes in incorrectly it can make the entire roof go wrong. This has to be straight and parallel to the house front in order to it hold the roof correctly. I did dry fit it several times before I turned the camera on. In the end it was really easy you just have to be really careful with your measuring. This is not the spot to “eyeball” it.


I did tackle a spot on the porch railings that were bugging me. My preference would have been to make the porch railings from a different material but I went with what the kit provided. You really can't paint the opening where the balusters go into the rails before hand because that could change the fit. And I don't think just painting the area would have made much difference. I had thought about filling all those little holes between the balusters before I installed the railings and I really wish I would have. I didn't do a perfect job on the fill and I might go back at a later time and make it better but I am so much happier now than I was before. It didn't take too much time, I just turned on some music and lost my self in the task for a while.


The last step today was to cut the side trim boards for the dollhouse. I am not going to trim my house out exactly like the kit directions say to but I will still need these pieces. They are way easier to cut now than it will be once the roof goes on. Getting that angle at the top is so important and relatively easy without the roof in place/in the way.


Now I am going to back on my soapbox so to speak. I see so many crafters on YouTube using regular scissors to cut wood strips and craft sticks. Please don't do this. It is just plain dangerous. Those regular scissors are not made to cut wood and can case a really bad injury. I've seen it happen and it was horrid. You don't want to spend your time or money going to the ER to get patched back up. Get the proper tools and use them safely.