Check back often

Have you checked out all my blogs?


Dollhouse Minis: http://joannesminis.blogspot.com


18” Dolls: http://joannes18dolls.blogspot.com/


General Crafts: http://joannes-place.blogspot.com/


Cooking: http://joanne-kitchen.blogspot.com/


Also if for some reason I can't post I will try to give a head's up on the Facebook page so check there too.

Sunday, December 25, 2016

Merry Christmas Everyone!!!

I had planned to have a Q&A video ready to go up tomorrow but I ran out of time to get it done. So sorry. But on the bright side this gives all of you a few more days to send me questions to answer.

I hope everyone is having a wonderful holiday season and looking forward to a new year. I have some new things planned for my mini channel in the new year and I hope to announce at least some of them next week on the Q&A,


Sunday, December 18, 2016

Dollhouse Miniature Gifts for Under the Christmas Tree


This week we are going to create some gifts to under our Christmas trees. After all what's a Christmas tree without gifts under it?


I had planned to do a couple of different things for this project so I will talk about the others here. The reason they didn't get included was I forgot to pick up a couple of things when I went to town on Monday then we got snowed in. I still haven't gotten out.

Anyway another really simple way to make some cute gifts is to take pieces of craft wood and wrap them with some scrapbook paper that has tiny designs. Cut the wood in various sizes anywhere from ½” to an inch or two. And wrap like you would a real present. These are really nice, can be made quickly and fill out under the tree. Then use the gifts like we made today to act as accents.

To get the printables I used today just visit Paper Minis and sign up for Ann's newsletter. When you receive the newsletter the link to the free printables is toward the bottom of every issue. The newsletter comes once a week (on Fridays) and is free.

The projects I used today were:

Lidded Winter Holiday Gift Box

English Garden Gift Boxes

Christmas Holly Gift Bag


Here are a few close up pictures of the gifts under the tree.


Sunday, December 11, 2016

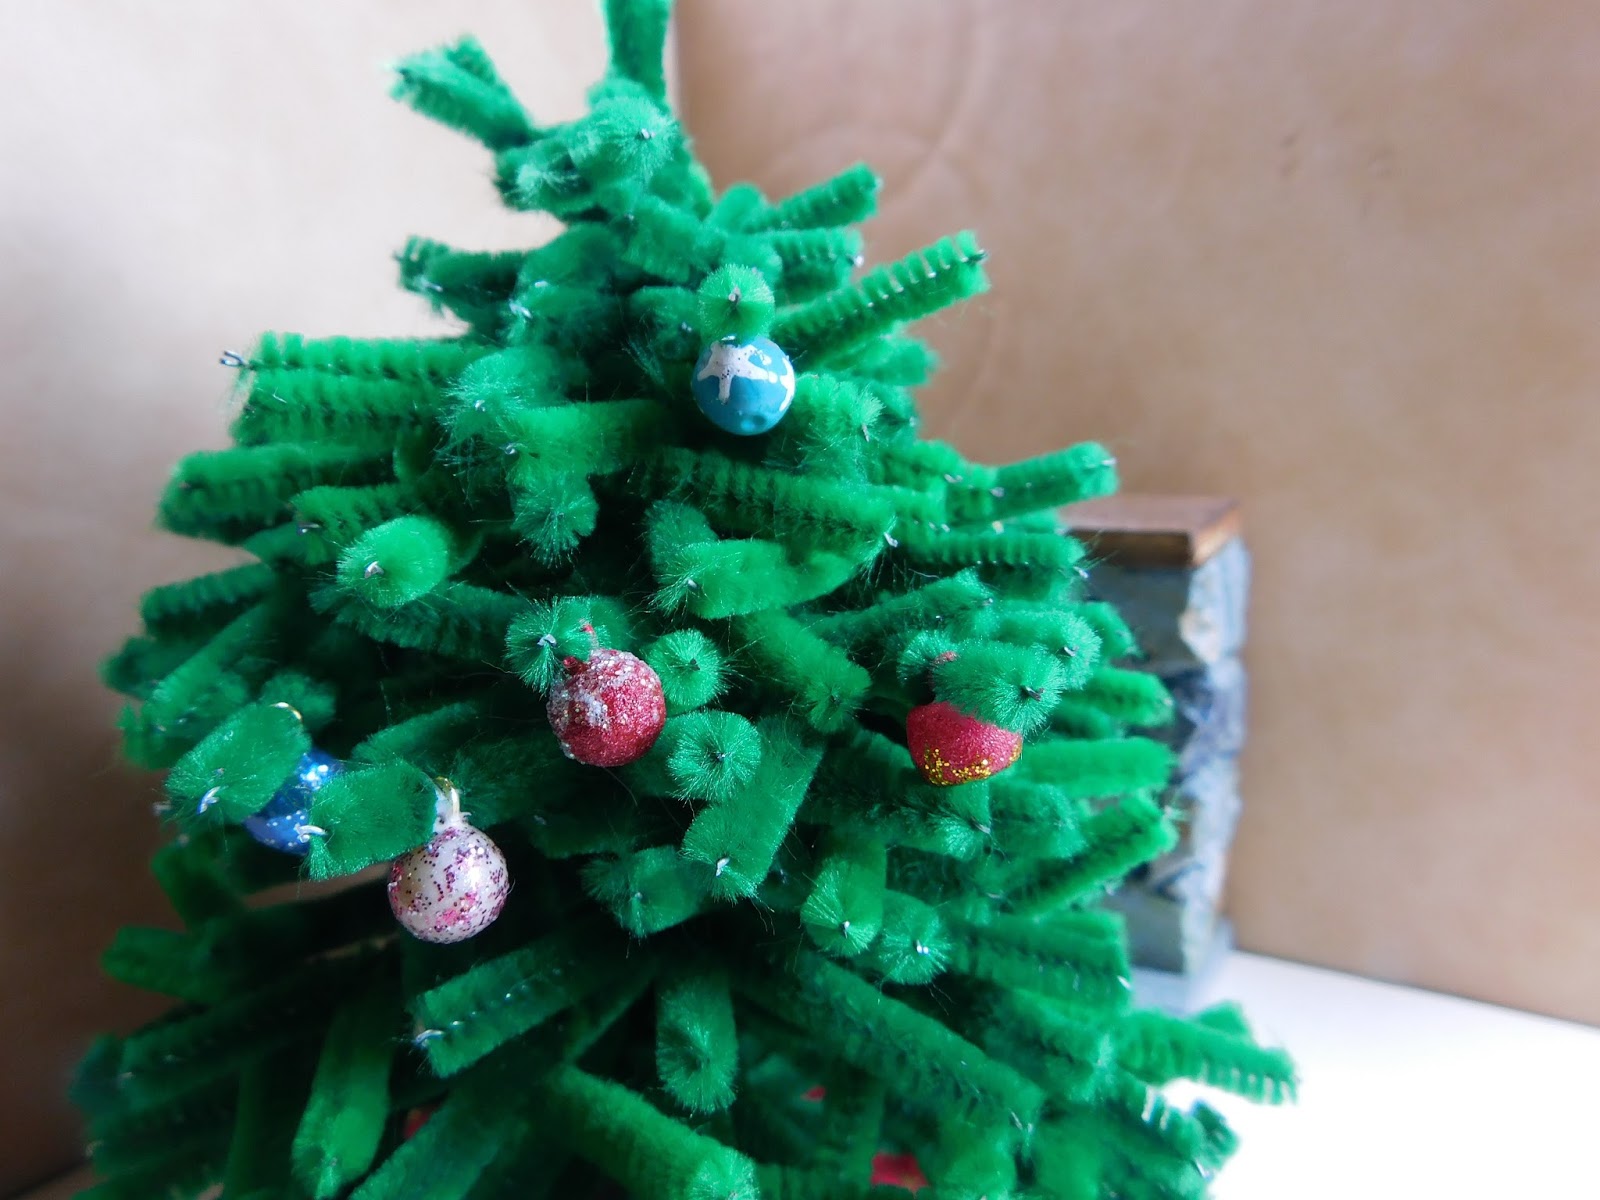
Dollhouse Miniature Tree Top Star


This week we are adding a star to the top of our Christmas tree. This is a really simple and easy project but I think it turned out looking so pretty at the top of the tree.


I started with two stars that I cut out of a gold card stock. I glued these to the green pony bead and then just added glitter. Really in a nutshell that is the project, I mean really it is that easy.

I spent a lot of time waiting for glue to dry this week. I think the house is just too cold for my glues to dry a decent rate of speed.

Since I wanted even more sparkle than the gold paper gave and also since I had a small glue accident I added more glue and covered the outside of the star with some gold glitter. I think it really does make the star look fantastic.


I hope you enjoyed the project and remember I would love to see your projects.


And since the Q&A video was so much fun last year on Christmas weekend I am going to do it again this year. So be sure to get your questions to me so I can answer them. Feel free to either post them as comments to this blog, the video or over on the Facebook page. 

Sunday, December 4, 2016

Dollhouse Miniature Christmas Garlands


This week we are continuing our series of dollhouse holiday décor items with two simple garlands.


The first is a simple glitter garland for the tree (or anywhere you want to use it) made with just a few simple materials you probably already have on hand. The string you use can be anything of about the same weight as the one I used. I like the Cro-Sheen string/thread because it is easy to find, cheap, comes in a ton of colors and comes in a fairly large quantity. I have several colors, I just used the first one I grabbed since the color doesn't really matter since you are covering it up with the glitter.

Pick a fairly thin glue for this project since you need to cover the string thoroughly and you only have one shot at it. Also just like any other other glitter project you are going to have glitter everywhere.

After the glue dries the garland will be stiff just gently move it around to soften it just be careful you don't knock off too much glitter.

For the paper chain I like to use quilling paper, it is already cut to 1/8” wide so I only have to cut it into ¾” lengths. This part of the video took me all day to film because gluing all those little rings of paper takes a lot of time and you really need to let the glue at least set up a bit between steps. In the end the chain is shorter than I wanted but I ran out of time. I think it is still really cute and I am happy with it.


So these are just two options for garlands, what can you come up with??

Sunday, November 27, 2016

Dollhouse Miniature Christmas Ornament Decorating part 2


This week we are continuing to decorate some of the ornaments we made in an earlier tutorial. This time my medium of choice is some simple glitter glue, the stuff from the kid's crafts area of the store. I love this stuff for things like this. It adds some glitz and it a really inexpensive medium.

I am sorry there aren't any more photos this week I had a horrid problem getting the glitter glue to dry because of how cold my house is today. By the time it was dry enough to handle there simply wasn't enough light to get a decent photo. Since I didn't get around to filming this until Saturday afternoon I am just out of time if I want to get this tutorial posted on Sunday morning. I was going to film on Friday but my thumb was too sore to hold onto anything at that point. (it is much better today, don't worry)


I hope to get back to some more ornament ideas I have but I want to also do the tree topper and some garland so I am not sure. If we don't get to all the ornaments this year there is always next year too.

I hope you enjoyed this tutorial, I apologize for how short this blog post is but I need to get this posted.


Sunday, November 13, 2016

Dollhouse Miniature Christmas Ornament Decorating part 1

Watch the video here.

This week we are going to start decorating some of the ornaments we made last week. I am trying to keep this simple an d still have some really cool looking ornaments. You really only need to do a few decorated ones to sprinkle around the tree. Then fill in with plain ones.


I am using the Art Deco polish from LA Colors, I think it is slightly thicker than regular polish and it works really well for this project. That long, thin brush is really handy too. I got all of mine at the Dollar Tree over a period of several years.


For the first ornament I decided to use a blue base and make flower/snowflake design on it. This is super simple to do with dotting tools.


The second ornament is a take on one my mom used to hang on our tree when I was growing up. I loved the bright red ornaments with their simple white line in the middle and a touch of silver glitter. I think the dolls will love this one too.


For our third ornament I simply used some pre-made gem flowers that are meant to go on nails. Again this was a Dollar Store purchase so it is a really economical way to decorate.


I hope you are having as much fun as I am with this series. Next week I will come up with a few more designs for you.


Sunday, November 6, 2016

Dollhouse Miniature Christmas Tree Ornaments


This week we are going to make some ornaments for our trees. This is a slightly different method than I have shown before. Here is a link to the video I did previously that uses a head pin with the beads. This time we are using eye-pins with the beads. I like both methods and it depends on what your beads are like which will work best.


If you have beads that are decorative and/or have small holes (that the ends of the head pin won't slip through) then use the method in the other video. If on the other hand you have beads with larger openings this method will work better.

I am not sure if these are going to be as durable as the other ones.

The biggest advantage I see to these are that we don't have the head pin showing on the bottom of every ornament.

The fabric paint seems to hold the pin in well under normal use and these are especially pretty if you are going to display a box of ornaments in your scene.

Next week I plan to start showing you how to decorate some of these ornaments so if you want to jump in on that project right away do some prep this week.

One of the biggest advantages of this project is that we can use whatever beads are the correct size to make our ornaments. The color doesn't matter at all since it will be covered. I was even able to use pony beads to make some of the ornaments and they seem to work just fine. (I am not sure how sturdy they will be though)

On the disadvantage side I am not sure how well the paint will hold the eye-pin if they are handled roughly and they are much slower to make than the other style.

My suggestion would be do some of each.

Now onto some hints for getting your ornaments to turn out their best.

Work clean, keep a wet wipe handy and clean up any fabric paint that squirts out.

Make sure that your hooks are straight as they dry. I didn't come back and check on mine and some of the hooks leaned to the side as they were drying.

If your fabric paint sinks down as it dries fill in with a bit more and check it when dry.


As you paint the ornaments with the nail polish again work clean and clean up any drips. I found that the faceted bead did drip a lot more than the other ones.