Check back often

Have you checked out all my blogs?


Dollhouse Minis: http://joannesminis.blogspot.com


18” Dolls: http://joannes18dolls.blogspot.com/


General Crafts: http://joannes-place.blogspot.com/


Cooking: http://joanne-kitchen.blogspot.com/


Also if for some reason I can't post I will try to give a head's up on the Facebook page so check there too.

Thursday, July 10, 2014

Dollhouse Miniature Flowers


This week I am showing you a really easy way to make some cute flowers for your dollhouse. I did make some of these several years ago and had forgotten all about them until they were discussed on one of the online mini groups I belong to. I do love that ideas flow so easily on the online groups, some ideas that have been around forever get brought up every once in a while and that really helps all of us. For those of us that have been doing minis for a long time we get reminded of things we once did and had long forgotten. And just (if not more) importantly it lets those that are newer to the hobby in on some of these forgotten tricks. That is kind of what I hope these Thursday videos do too. Remind some of my counterparts of some of the fun projects we once did and to let these tricks be out there for all to enjoy.

I am so glad that I was reminded of this trick while the seeds are still on sale for this year it makes for a really inexpensive little project. I would love to see what you do with this.

Are you going to put your flowers in a vase or in the garden? Will you add some leaves or not??? Maybe you could come up with a pattern for a flower box from the florist and you could add these flowers to that. The possibilities are endless, you are only limited by your own imagination.


Thursday, July 3, 2014

Another Dollhouse Miniature Bowl


This week I have been really busy but I did take a couple of minutes to film a really quick Trash to Treasure. I do apologize for not posting for a couple of weeks, I have been super busy. I decided to do some re-organizing of my craft-room/office. And then last week I went out and bought myself a new sewing machine and I have been really busy learning all the tricks it can do. I will probably write a bog post over on the 18” doll blog about it when I get more comfortable with it. Currently I am still very much in the learning phase since my old machine was about 20 years old and this new one is one of the embroidery ones. Lots of new features to get a handle on.

Now back to the project for today. There really isn't much I can say about it truthfully. It is simply a matter of using you imagination when you are out shopping and seeing things with a “mini eye” These little bead caps are perfect for small dishes in the dollhouse they look really cute with some slices of mini fruit for a fruit salad or with some mini ice cream for dessert (wow, ice cream sounds really good right now- it is really hot here this week)

Since the bead caps I got are made of metal I would feel safe baking polymer clay right in them. Just keep an eye on things and be extremely careful when they first come out of the oven. The metal will stay hot a bit longer than the clay would normally.

The bead caps come in many styles and sizes, some are definitely big enough to use with Barbie and the other dolls of that scale. I am not sure if any come big enough to use with the 18” dolls or not. I didn't think to look but there may be some that would work as a small candy dish or something for your 18” friends too.


Sunday, June 22, 2014

Dollhouse Miniature Crib Kit


Like I said in the video I have been debating the merits of showing the construction of this kit for several months. I love these kits but they are no longer being made. I even asked on a Yahoo group that is for those of us in the dollhouse miniatures business about the kits. Most of the people that have stores commented that they do still see these out there. I think most of us on the group that are familiar with the kits agree they are nice little kits and it is a shame they are no longer being made.

That all being said just because something is no longer being made doesn't guarantee that you can no longer find that item. These kits do turn up on Ebay from time to time, they can still be found in some of the older miniature stores and also in other places that miniatures can be found. Just keep your eyes open for them.

I have assembled several of the cribs, they are my favorite of all the kits. I love the canopy version and I have one of those in my Harrison. I have added a few photos of that crib at the end of this blog post. The company also made a rocking chair kit (I think that one had some little accessories but I am not sure) and a bathinette type thing, that I know of- I have put all of those together. I am not sure if they had other kits or not.

Next week (providing I can find fabrics I love) we will dress the crib. That process should work with most of the other mini cribs that you might want to work with.

Before you ask about the finger all I will say is that when an index finger and a craft-knife do battle the knife ALWAYS wins. It is still very sore and it caused me to have a lot of problems holding things for the end of the video. Sorry about that. Hopefully by next week it will be healed up.


Thursday, June 19, 2014

Dollhouse Miniature Toy Box


This week I am altering another find from the dollar store baby shower favor aisle. When I was at the dollar store a couple of weeks ago to pick up the rattles we made the bowls out of I also grabbed some of these packages of baby blocks. As soon as I picked them up I was certain they were hollow I just wasn't sure if it would be easy to get the top off. As it turned out I think they must have been designed to have the lids removed to put something into so it was easy.

Now on to decorating them. You could of course leave them the way they come. They are really cute and in the dollhouse nursery would be adorable but I wanted to take them a step further. Since the designs are already raised they are easy to paint and have they turn out really nice. I used some nail polish that is designed for nail art so it has longer thiner brushes in the bottles. I get this at the Dollar Tree but I see it almost every where nail polish is sold. On any spots I messed up I just used a cotton swab with non-acetone nail polish remover to clean it up. Try to use the non-acetone variety since it is gentler on the the plastic the blocks are made of. The regular acetone kind tends to melt some plastics and you need to be much more careful with it.

For the blue block I just used some permanent markers, mine are made by both Sharpie and Bic but there are a lot of brands out there. If you are lucky enough to have some Pr0-Markers, Copics, or any of the other high end alcohol based markers any of them will work for this. For clean up use some isopropyl alcohol on a cotton swab to erase the mistakes.

Since these are plastic I used some of my model cement to glue the pink lid onto its box at an angle.


Now both toy boxes are ready for the mini kids to do some clean up and put their toys away. 


Sunday, June 8, 2014

Polymer Clay new and old


This last week I was able to get my hands on some of the new Sculpey Souffle polymer clay that is replacing Sculpey IIII. I decided to do a video of my initial thoughts on this clay and also what I think of some of the other brands of clay that are available.

Remember these are my views and opinions. Your experience may be different. We all like things for different reasons. I am just trying to let you know what I thin about the products, mainly because people ask my opinion.

When I started in polymer clay there weren't the choices (at least not here locally) that there are now. Between more items available in stores and then all the items available online it can be confusing to try to pick out a new product. That was why I made this video. I hope it helps you to choose the right clay for you.

I really do like the 3 packages of Souffle that I purchased and I am looking forward to it being more widely available. While I am sad to see all the wonderful colors of Sculpey III going away it is exciting to be able to use this new product. I am glad it is a bit firmer than the Sculpey III and I am very happy that (at least with the ones I got) the colors don't seem to bleed onto my hands as much. I was also happy with the baked samples, they baked up fairly close to raw clay color. It can be very hard to mix colors and make items with clays that color shift when you bake them.

So the clays that I will probably be using most in the future seem to be: Premo, Souffle and Fimo Soft. I do want to get my hands on the new Fimo Professional at leas to try it out.

Thursday, June 5, 2014

Dollhouse Miniature Bowls


This week's Trash to Treasure Thursday project is a really fun one that can be used for almost any size doll. We are turning those little plastic rattles that Dollar Tree (and other stores) sell for Baby Shower decorating. The packages I got had 6 rattles in each package so that is a total of 12 bowls per package (6 clear and 6 colored) This is one of those times that the fact that these types of items are usually not all that well made really comes in handy. In the two packages I purchased I only had 1 rattle that I can't seem to get apart.

Do be careful when taking these rattles apart, as you hopefully noticed in the video I had a piece fly off across the room. With the sound of it hitting the wall I could tell it was moving pretty fast and would have really hurt had it hit someone. Also keep in mind that the wire cutters are sharp and made to cut wire, they will also cut skin with ease. Know exactly where your fingers are at all times.

This was one of those projects that has been being talked about on some of the online mini groups. One of the gals that is very active in the miniature community and is a master at finding things like this told about them on at least one group. I actually missed that post but a friend told me about it. After I was able to find the rattles I could see how they would be bowls with no problems. I am not sure if I am doing mine the same as Tanya's or not. I haven't gone and looked at her's yet.


Wednesday, June 4, 2014

Polymer Clay Haul


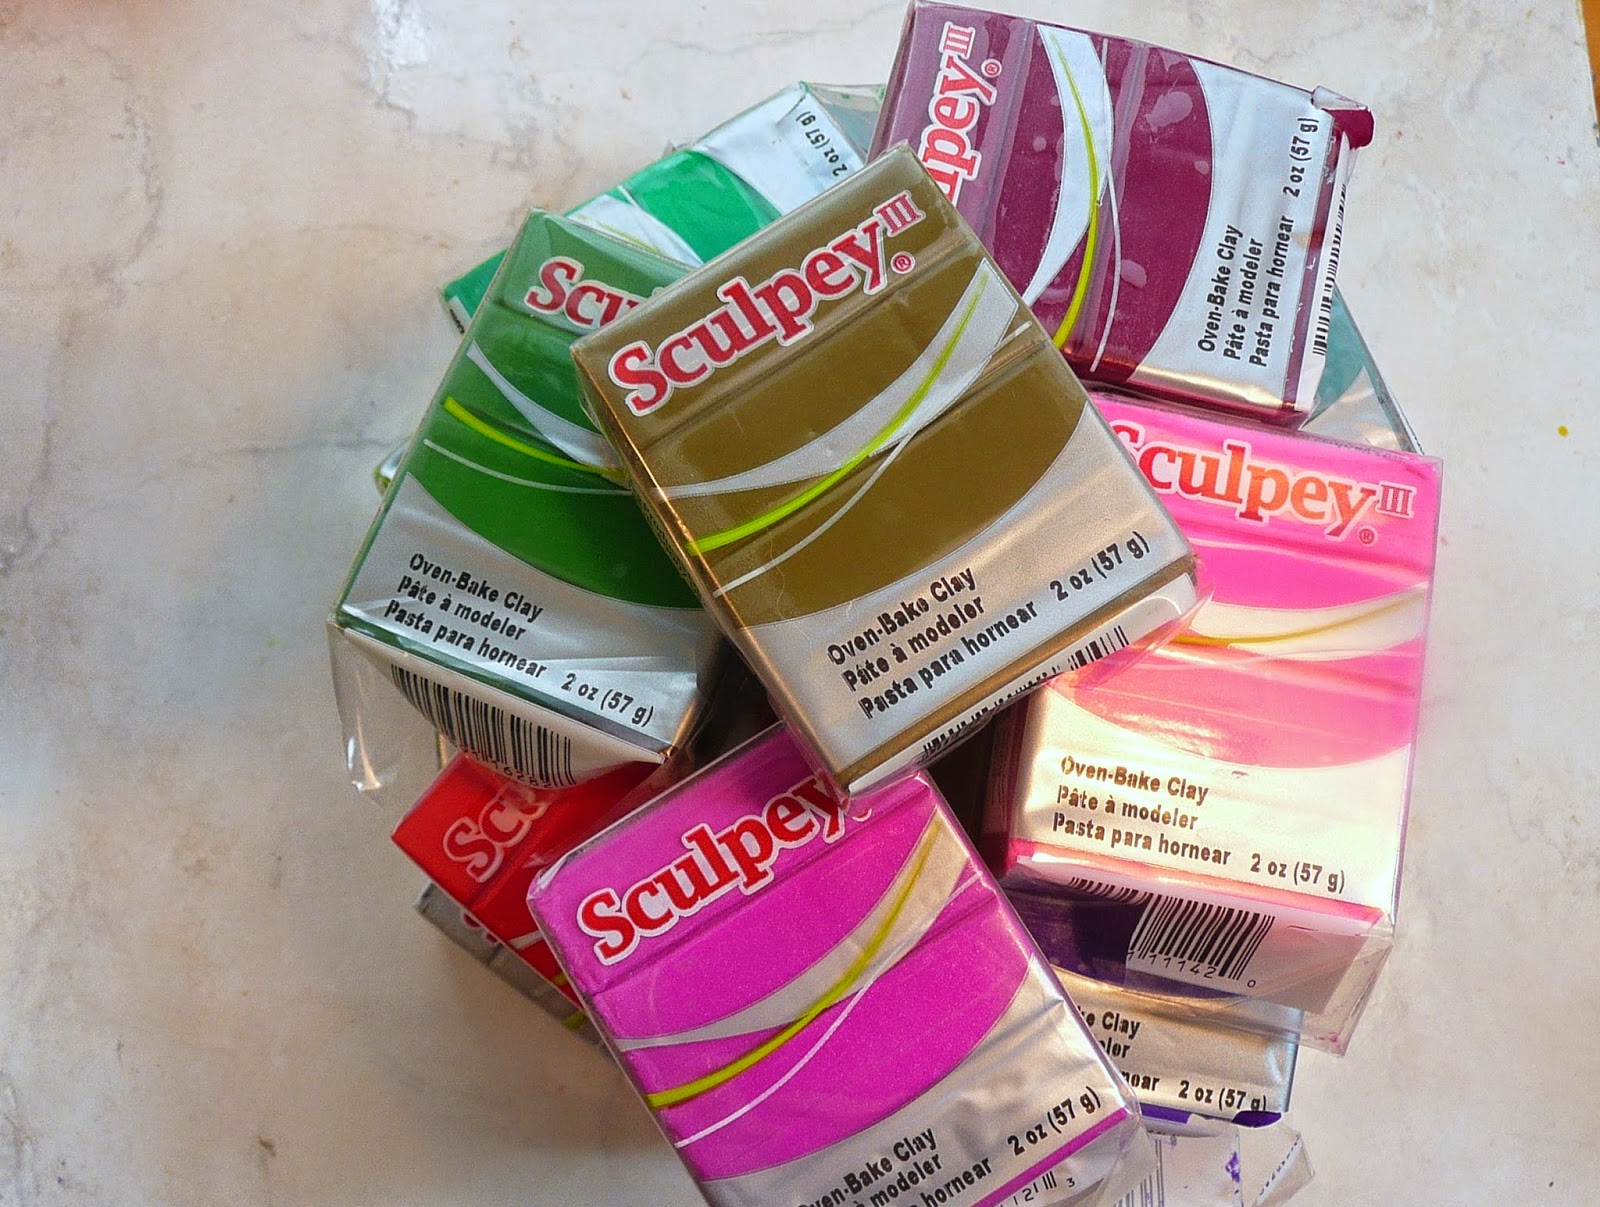
As some of you may already know Sculpey III is being discontinued and while I am a bit sad to see it go I am very happy to take advantage of the sale prices that this is causing. I know back a few weeks ago when I did my video and blog about organizing my clay I said I wouldn't be buying much more clay. Well, that was before I found this fantastic price.

I love having all the colors of rainbow available in my clay and the ease of just opening the package and making something. I know there is now way I am ever going to use up all this clay but, I got it anyway. I am using more clay now that I am also making more items for the 18” dolls, those items take a lot more clay that our little tiny dollhouse items.

Also I get a lot inspiration looking at the different colors, sometimes it is almost like the colors tell me what they want to become.

So here are photos of all the Sculpey III that I got on sale along with their color cards for my file. I do love having the cards in my notebook because it makes seeing what I have and what it looks like baked so much easier.

Candy Pink

Purple

Plum

Emerald

Tranquility

Violet

Camouflage

Beige


Hot Pink

Red Hot Red

Pewter

Silver

Fuchsia Pink

String Bean

Deep Red Pearl

Leaf Green

Granny Smith