This
week's video is a bit different and was a lot of fun to make for you.
It all started a while back when I made up the square planter kit.
If you remember I had used a water based marker to stain the wood.
After I had the video filmed and the pictures taken I had posted one
of the photos on the Facebook page (link here if you haven't joined us yet) and asked what everyone thought I had used. There were a lot
of really good guesses, none of them correct but good guesses. One
thing I noticed was that a lot of you worded your guess with
something like “I hope you used ___ because I have been wondering
if it would work.” This gave me an idea, why not get some
suggestions of things to try and do just that, try them. I asked on
the Facebook page for suggestions and here are most of those. There
were a few things I didn't have on hand and would not have gotten
used so I skipped those and I added a couple of my own ideas that
occurred to me as I was filming this.

I
do apologize if this video seems to be a bit disconnected, I filmed
the first part about 2 weeks before I had time to finish it up.
Hopefully I managed to still give you an experiment that will help
you out or at least satisfy your curiosity.
I
want to say before we talk about the items I tested that I don't
really recommend using some of these things on your minis. I just
wanted to see what they would do and if you do decide to use them
understand that these have not been tested for long term stability.
They could do any number of bad things to the wood they are applied
to especially the food based ones. Some of the non food ones would be
fine and I will mention those as we go along.
 The
first thing I tested was a sampling of alcohol based markers. I love
my markers for making cards and for my art journaling and they were
one of the suggestions. I have three brands of these markers: my
Spectrum Noir markers (which I love), Sharpie, and Bic Mark-it. I
picked a brown in each brand so you could hopefully see how they
work. As I expected these worked great and I am certain they would be
fine long term. One big advantage of these markers is that they come
in so many colors. Also if you are like me and you tend to do a lot
of different craft/art things it is so nice to be able to use the
same products in many different ways.
The
first thing I tested was a sampling of alcohol based markers. I love
my markers for making cards and for my art journaling and they were
one of the suggestions. I have three brands of these markers: my
Spectrum Noir markers (which I love), Sharpie, and Bic Mark-it. I
picked a brown in each brand so you could hopefully see how they
work. As I expected these worked great and I am certain they would be
fine long term. One big advantage of these markers is that they come
in so many colors. Also if you are like me and you tend to do a lot
of different craft/art things it is so nice to be able to use the
same products in many different ways.
 Test
number 2 was nail polish. I happen to know this one works and works
really well because I have used it many times. I usually do use the
nail polish over a coat of light color acrylic paint since it tends
to be pretty sheer on the wood. For this test I omitted the undercoat
of paint. I had the two colors I used on my desk since I had recently
purchased them so that was the reason I used the colors I did. Once
again we are working with a product that I know will work long term.
Nail polish has many of the same advantages that the markers do- I
already have a bunch of it and it is nice to be able to use it for
another purpose and it again comes in just about any color you can
think of. There are even polishes that have specialty finishes
(marble, crackle, glitter, etc) to give you even more options.
Test
number 2 was nail polish. I happen to know this one works and works
really well because I have used it many times. I usually do use the
nail polish over a coat of light color acrylic paint since it tends
to be pretty sheer on the wood. For this test I omitted the undercoat
of paint. I had the two colors I used on my desk since I had recently
purchased them so that was the reason I used the colors I did. Once
again we are working with a product that I know will work long term.
Nail polish has many of the same advantages that the markers do- I
already have a bunch of it and it is nice to be able to use it for
another purpose and it again comes in just about any color you can
think of. There are even polishes that have specialty finishes
(marble, crackle, glitter, etc) to give you even more options.

Next up was our first “food” item- food coloring. I decided to grab a both the standard liquid variety and some gel food color and I decided to use yellow for both types. I felt like the test would be more fair between the two if I used the same color. I have no idea how this will hold up long term but it did give a good color pay off. It is something most of us have in the kitchen so that is a plus. I am interested to see how this one looks later on.
 In
my opinion the ketchup and mustard were total washouts, they really
didn't give much color at all. The mustard did work a bit better than
the ketchup and I suspect that the bright yellow “hot dog”
mustard would have been better. We had 4 different containers of
mustard in the fridge and this was the one with the most color so
that is why I used it. It will be interesting to see how these look
in 6 months though.
In
my opinion the ketchup and mustard were total washouts, they really
didn't give much color at all. The mustard did work a bit better than
the ketchup and I suspect that the bright yellow “hot dog”
mustard would have been better. We had 4 different containers of
mustard in the fridge and this was the one with the most color so
that is why I used it. It will be interesting to see how these look
in 6 months though.
 Coffee
and tea were next up on the test and I was actually surprised that
they didn't do better. I use both of these to age and color fabric
all the time and they do a really good job of that. For the wood the
staining was minimal but still noticeable. I think they would be
great for adding water spot marks to ceilings and walls in our mini
buildings to simulate a leaking roof and age. I am not sure how kind
time will be to the wood for these two but fabric seems to work well
long term so I think it should be okay.
Coffee
and tea were next up on the test and I was actually surprised that
they didn't do better. I use both of these to age and color fabric
all the time and they do a really good job of that. For the wood the
staining was minimal but still noticeable. I think they would be
great for adding water spot marks to ceilings and walls in our mini
buildings to simulate a leaking roof and age. I am not sure how kind
time will be to the wood for these two but fabric seems to work well
long term so I think it should be okay.
 The
only test that totally failed was the wrapping tissue, even though I
soaked it and let it dry there is absolutely now color transfer. I
know I have had this same tissue bleed onto my clothing when it gets
wet so I was sure it would give some color.
The
only test that totally failed was the wrapping tissue, even though I
soaked it and let it dry there is absolutely now color transfer. I
know I have had this same tissue bleed onto my clothing when it gets
wet so I was sure it would give some color.
 Okay
the idea of buying hair color at Dollar Tree to use on my hair
terrifies me. LOL But it worked okay on the wood. I am really anxious
to see how this one looks later because if it holds up I think it
would be fun to play with. This is something that comes in several
colors, mostly ones that would be kind of sort of natural looking on
wood.
Okay
the idea of buying hair color at Dollar Tree to use on my hair
terrifies me. LOL But it worked okay on the wood. I am really anxious
to see how this one looks later because if it holds up I think it
would be fun to play with. This is something that comes in several
colors, mostly ones that would be kind of sort of natural looking on
wood.
 The
lipstick and lip stain were both ones that I decided to test on a
whim and I am glad I did. They both look really nice and I think
there are possibilities for both products in future projects. I just
want to see how they look in about 6 months before I commit to using
them.
The
lipstick and lip stain were both ones that I decided to test on a
whim and I am glad I did. They both look really nice and I think
there are possibilities for both products in future projects. I just
want to see how they look in about 6 months before I commit to using
them.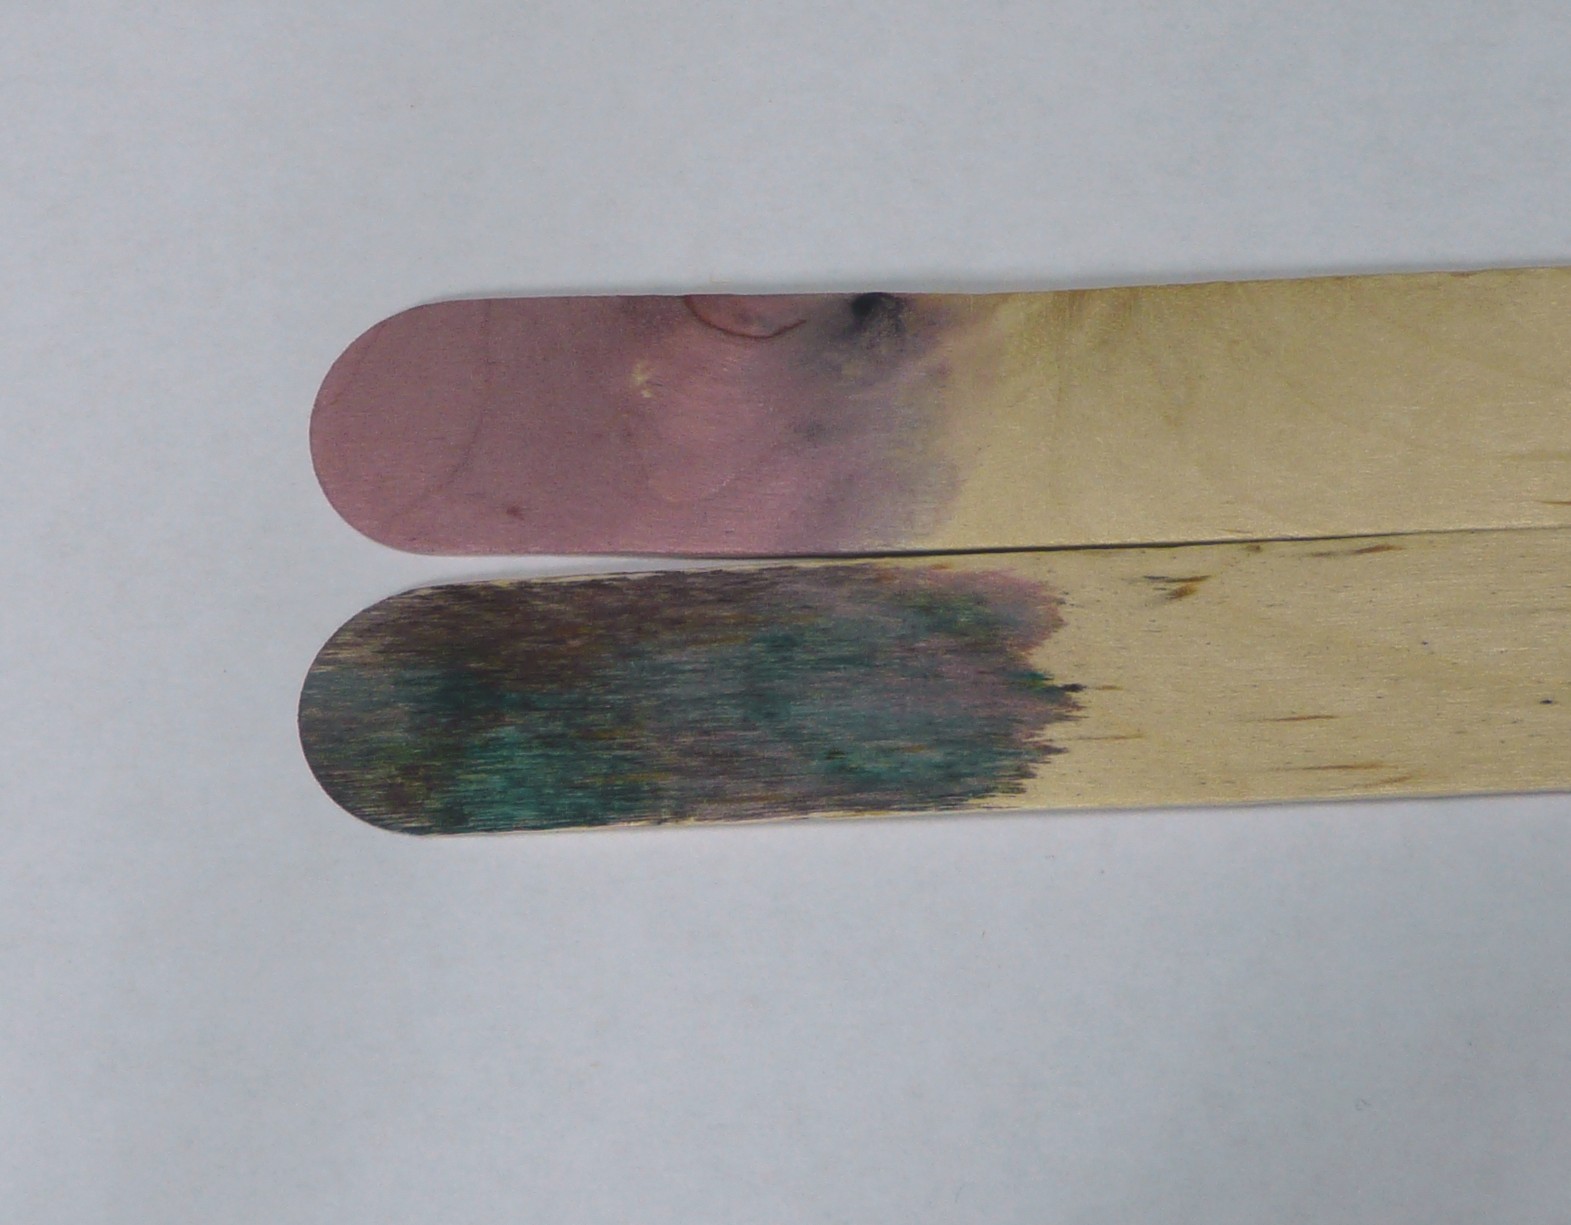 For
the Kool-Aid I decided to use it both mixed with water and as the dry
powder. I think it looks better mixed with water better but I can see
it used dry too especially if you sprinkled it around just a bit and
then spritzed it with water for bits of color. Maybe one a walkway or
floor. Let's see how it looks in 6 months as far as keeping its
color.
For
the Kool-Aid I decided to use it both mixed with water and as the dry
powder. I think it looks better mixed with water better but I can see
it used dry too especially if you sprinkled it around just a bit and
then spritzed it with water for bits of color. Maybe one a walkway or
floor. Let's see how it looks in 6 months as far as keeping its
color.
 Fabric
dye seems like a natural for coloring just about anything and it did
work nicely. Once again I wanted to show the powder dissolved in
water and as a dry powder that could be sprinkled around and spritzed
with water. I think it worked really well both ways. The depth of the
color of the dissolved dye is incredible! This also comes in a huge
number of colors.
Fabric
dye seems like a natural for coloring just about anything and it did
work nicely. Once again I wanted to show the powder dissolved in
water and as a dry powder that could be sprinkled around and spritzed
with water. I think it worked really well both ways. The depth of the
color of the dissolved dye is incredible! This also comes in a huge
number of colors.
 Soy
sauce was one I had no idea if it would work or not. It is a very
subtle color so I am not sure if it is worth it. If it holds up over
time it might be good if you really need a light stain. I am just not
sure how well it will hold up over time.
Soy
sauce was one I had no idea if it would work or not. It is a very
subtle color so I am not sure if it is worth it. If it holds up over
time it might be good if you really need a light stain. I am just not
sure how well it will hold up over time.
 One
thing that was suggested was grape juice but since no one around here
would drink what was left I really didn't want to buy a bottle of it.
Instead I decided to come as close as I could with some red wine,
something I almost always have in the kitchen. The first thing I
noticed when I walked back to the table at the end of the 10 minute
soaking time was that this one wicked up the craft stick a lot. It
also gives a really nice purple color to the wood. This is another
one I am anxious to see how it holds up.
One
thing that was suggested was grape juice but since no one around here
would drink what was left I really didn't want to buy a bottle of it.
Instead I decided to come as close as I could with some red wine,
something I almost always have in the kitchen. The first thing I
noticed when I walked back to the table at the end of the 10 minute
soaking time was that this one wicked up the craft stick a lot. It
also gives a really nice purple color to the wood. This is another
one I am anxious to see how it holds up.
So
that was our little very non-scientific test on alternative things to
color wood with. What do you think? Would you like to see more videos
like this in the future? It was fun to do.
I
have a note on my chalkboard to check this craft sticks in 6 months
to see what happens to them. I will write a blog post then with
photos from this blog as well as new photos.


