I
am hoping I am back to filming videos on a weekly basis. Thank you to
everyone that has contacted me in the last few months showing their
support. You have no idea how much that means to me.
Now
on to the project this week.
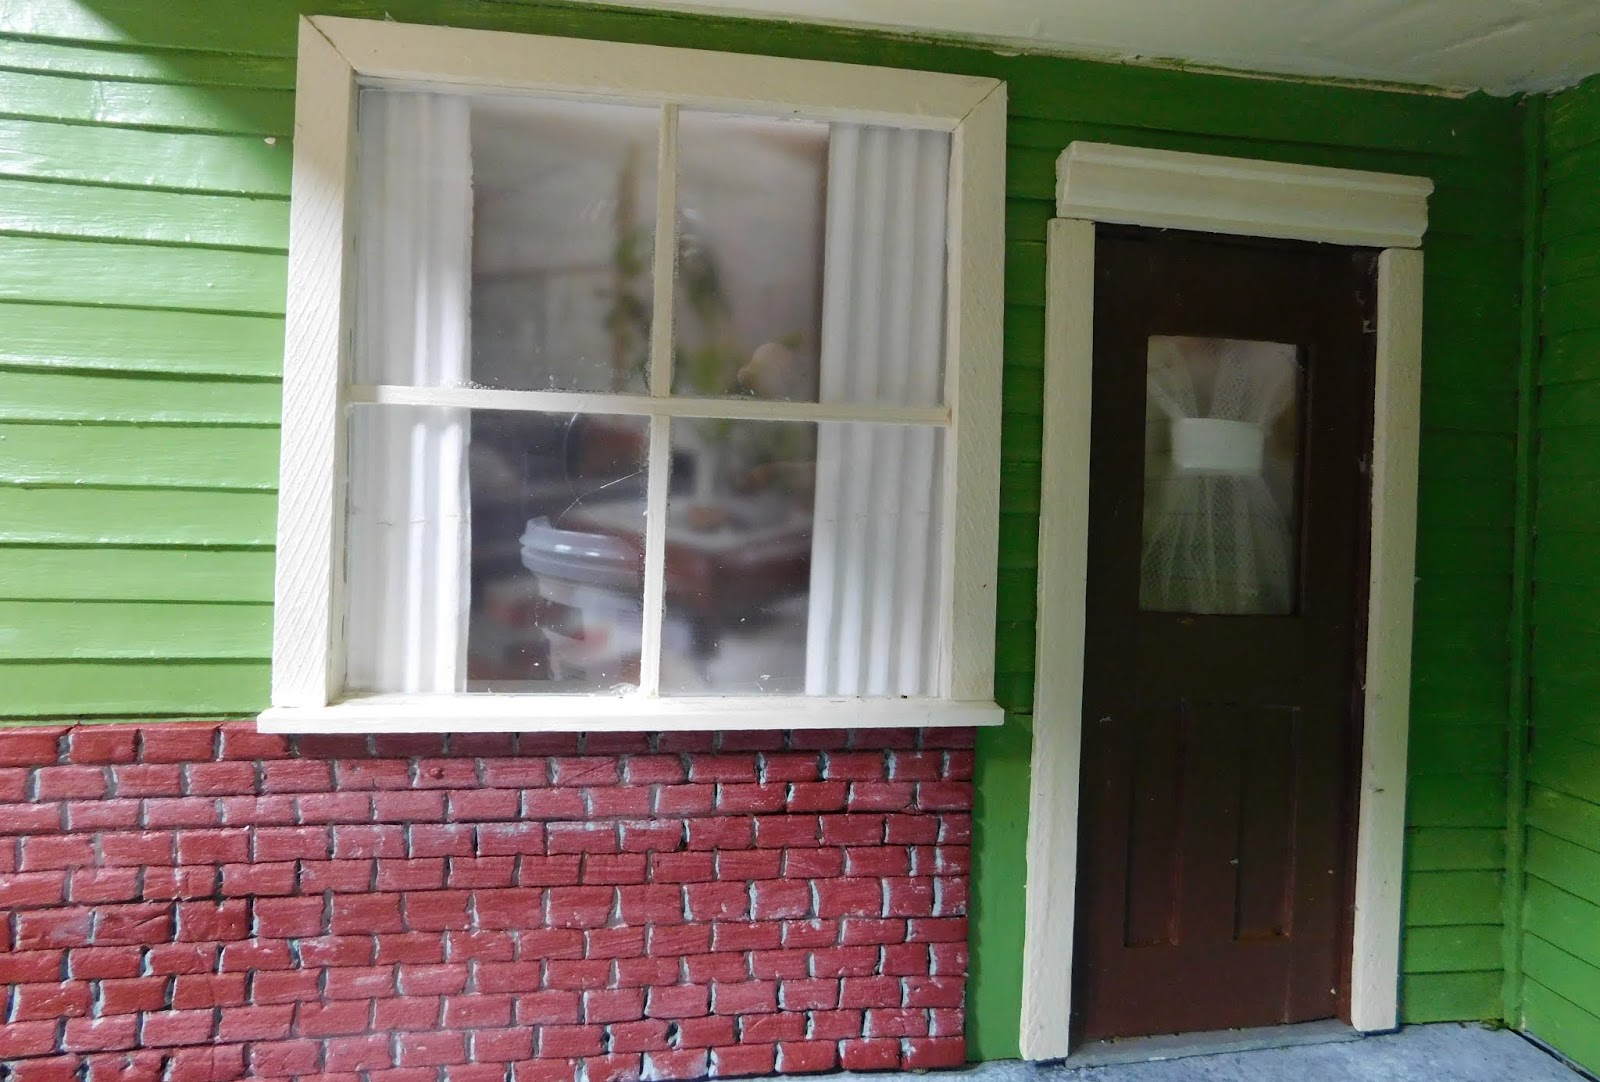
I
have wanted to do this in a project for a couple of years. It is kind
of a twist on using a picture outside the window to show the
landscape around the house or room. This time we are using a photo of
an interior to show the inside of our house.
One
of the things I love about this is it can easily be changed. I think
it would be so cool to have a collection of pictures of rooms that
are decorated for the different seasons. You know maybe one with a
Christmas tree, another with Halloween decorations, and so on through
the year. I made it so it is really easy to change the photo. Just
start collecting pictures to use.
For
the back of mine I used a piece of heavy watercolor paper. Mainly
because it was laying on my work table so I didn't have to go find
it. Use anything that is heavy enough to tape the photo to. I cut
mine 12 ½” by 11”. Be sure to try the piece you cut in your
porch before you move to the next step. It needs to slide in easily.
For
the sides and the divider I used 3 strips of scrap foamcore 1” by
about 10 ¾” (the one for the divider will need to be trimmed to
fit.
For
the top and bottom I used 2 pieces of balsa strip wood that I cut
about 11 ½” long. Again measure yours to fit your porch display.
Just
glue it together so it looks like this.

Then
hunt down some photos in magazines to use.
Using a photo of the interior this way is a brilliant idea. Thank you for sharing this wonderful project and for your fantastic tutorials.
ReplyDeleteHugs,
Drora